Sitting Vocals In The Mix with Dom Morley
Reading Time: 4 minutes.
It's often said that when people listen to a song, their focus is 50% on the lead vocal and 50% on everything else. With that in mind, there's no other single element of your mix that's more important than the vocal. We can discuss side-chaining your kick drum and saturation on the bass all day, but if the vocal isn't sitting right, then your mix is hindering your song rather than helping it.
So, let's get into how to sit the lead vocal in your mix. My process is to start by listening to the vocal track in solo and doing a quick EQ sweep to find out which frequency range is most important for the presence of this voice. It's typically somewhere between 1kHz and 3kHz, and when you've boosted the right frequency, the singer sounds like they've stepped towards you slightly. Make a note of this point as you'll be ensuring nothing else is in that space. The key to making a vocal stand out is actually to make space for it. If it isn't trying to compete with other instruments, then it automatically sounds clearer and more present.
I'm the sort of engineer that starts with the drums and builds a mix 'bottom-up', so once I've identified where the vocal needs to sit, I'll mute it and get into the drums. During this process though, I'll not only be bearing in mind the frequency range that I need to keep clear (and probably EQ-ing a dip in that frequency in everything) – I'll also keep flicking the vocal back in and making sure that I'm happy with the relationship between each new element and the vocal. I don't want them to be fighting any way. Keep doing this as you add every instrument and you should find that when you finally get to adding the vocal, it sits comfortably in the mix before you've done anything to it.
Once all the instruments are sounding great and I've left space for the vocal, I'll add it back in and focus on the details of the voice. Let's look at EQ first. What you do here is predominantly a reaction to what you hear – EQ is used to reduce what shouldn't be there and add what should. It's impossible to say what you may or may not need to do without listening to your mix, but one thing that I can say that's invariably useful is to filter off the low end. Generally speaking, there's nothing useful on a vocal below 100Hz – that's just noise and rumble. It'll reduce the impact of your kick drum and bass and make your compressor respond in peculiar ways – so start with a high pass filter (say, 18dB) and turn it up until you start to lose body in your vocal, and then trim it back a touch.
Next step is compression, which has two potential roles on a vocal. Compression can shape the dynamics of a sound – to make each word punchy, or smooth (and so on, you don't need me to list adjectives that describe dynamics), and it can also be used as a kind of leveller that squashes louder words to bring them in line with the quieter words. I would argue that the latter example is not what you should be using a compressor for these days. Clip gain or volume automation can quickly level out a track so that the loud and quiet words are as equal and balanced as you want them to be – with perfect control. After this, you can use your compressor to really shape the dynamic of the vocal sound. At this stage, you should be getting into your post-compressor volume automation to make sure the vocal is always as clear as it should be throughout the mix. It's not uncommon to require a lot of fine automation to keep the vocal sitting above the other elements of the mix, while also retaining the feel of the original performance. Go deep on this – attention to detail here can be the difference between a good mix and a great one.
Finally, let's talk a little bit about effects. I tend to get these going after I've EQed and compressed but before I've done my final volume automation, and I'm using effects for two purposes. Firstly, they are to sit the vocal in the right place in the mix – forwards or back. How much you use is all down to personal taste and the sound you are looking for with your project. One useful tip, though, is to use pre-delay on your reverb. Pre-delay has the effect of holding the vocal upfront, so as you increase the amount of reverb, the space behind the vocalist gets larger, without actually pushing the singer back into it. The second purpose for effects is to add interest to the production. Automating of delay sends and reverbs so that bits of interest from the vocal can pop out in areas where the arrangement feels a little flat or empty adds lots of character to your mix and keeps the listener's ear hooked.
Hopefully, that's given you some ideas on how to approach a lead vocal in your mix. As always, there are no rules, so try out some of my ideas and then do the exact opposite. See which sounds better to you and go for it!
Watch the live stream:
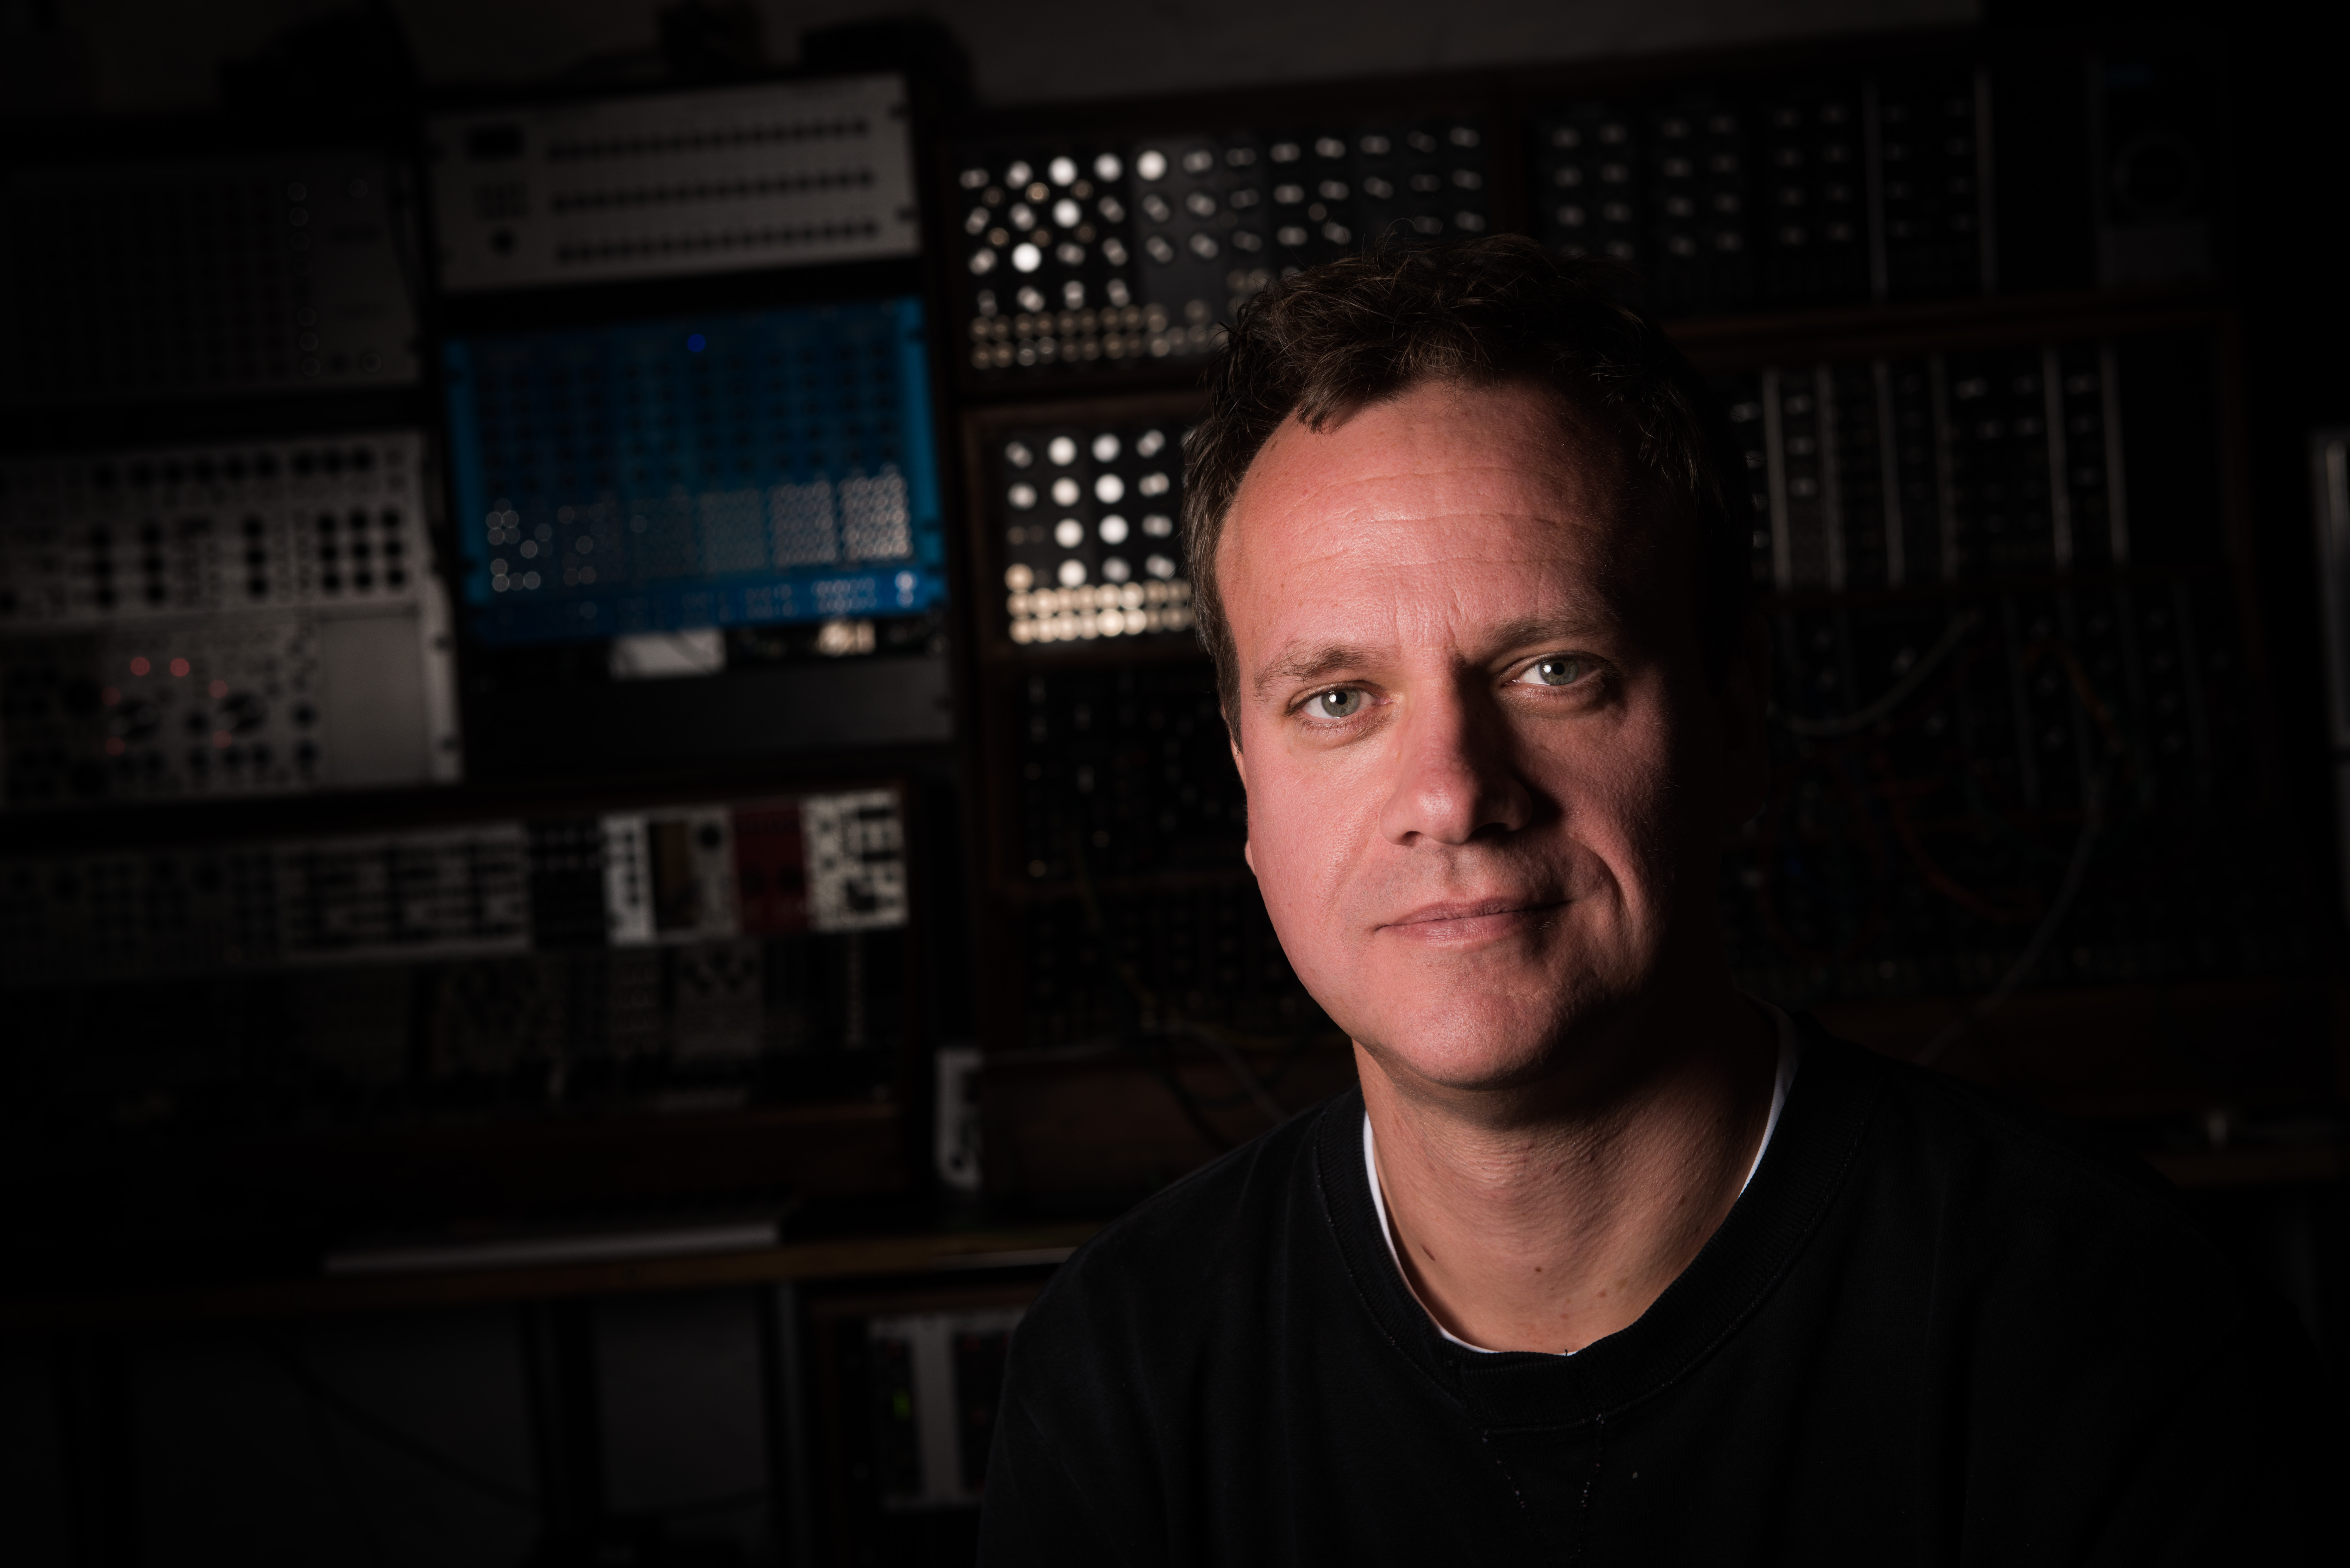
About Dom Morley:
Dom Morley is a Grammy award-winning engineer and producer. He has worked with many of the music industry's biggest names, from Adele, Sting and Amy Winehouse to Phil Spector, Mark Ronson and Tony Visconti. He is also involved in education and runs The Mix Consultancy.
